Zookeeper 安装说明(高可用)
一、集群主机
启动虚拟机,至少准备两个ip,也可准备三个。
| 序号 | IP | 角色 |
|---|---|---|
| 1 | 192.168.3.73 | Master1 |
| 2 | 192.168.3.74 | Slave1 |
| 3 | 192.168.3.75 | Slave2 |
二、下载安装
1、下载并安装 ZooKeeper
官方地址:https://downloads.apache.org/zookeeper

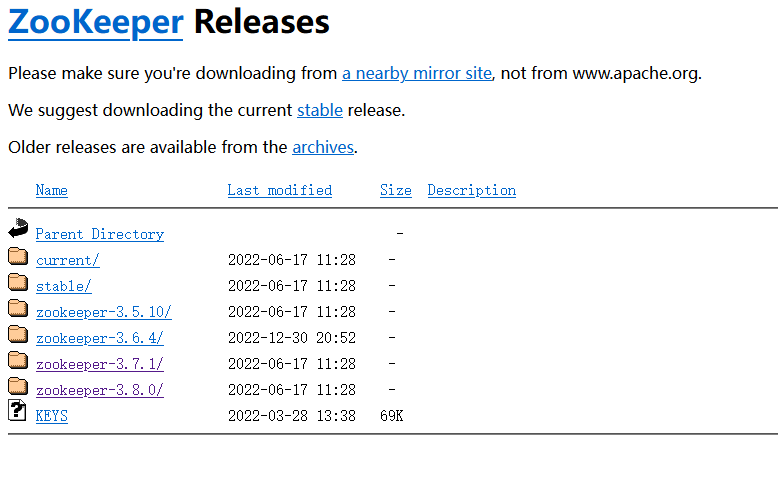
所有的主机,下载安装最新稳定版 ZooKeeper (当前最新稳定版本为:3.8.3).
$ cd /usr/local/src && wget https://downloads.apache.org/zookeeper/zookeeper-3.8.3/apache-zookeeper-3.8.3-bin.tar.gz
$ tar zxf apache-zookeeper-3.8.3-bin.tar.gz -C /usr/local/
$ cd .. && mv apache-zookeeper-3.8.3-bin/ zookeeper-3.8.3
$ echo 'export ZOOKEEPER_HOME=/usr/local/zookeeper-3.8.3' >>/etc/profile
$ echo 'export PATH=$ZOOKEEPER_HOME/bin:$PATH' >>/etc/profile
$ source /etc/profile
2、修改配置文件
首先查看下 /usr/local/zookeeper-3.8.3/conf/ 目录下的 zoo_sample.cfg 文件,内容如下:
# The number of milliseconds of each tick
tickTime=2000
# The number of ticks that the initial
# synchronization phase can take
initLimit=10
# The number of ticks that can pass between
# sending a request and getting an acknowledgement
syncLimit=5
# the directory where the snapshot is stored.
# do not use /tmp for storage, /tmp here is just
# example sakes.
dataDir=/tmp/zookeeper
# the port at which the clients will connect
clientPort=2181
# the maximum number of client connections.
# increase this if you need to handle more clients
#maxClientCnxns=60
#
# Be sure to read the maintenance section of the
# administrator guide before turning on autopurge.
#
# https://zookeeper.apache.org/doc/current/zookeeperAdmin.html#sc_maintenance
#
# The number of snapshots to retain in dataDir
#autopurge.snapRetainCount=3
# Purge task interval in hours
# Set to "0" to disable auto purge feature
#autopurge.purgeInterval=1

## Metrics Providers
#
# https://prometheus.io Metrics Exporter
#metricsProvider.className=org.apache.zookeeper.metrics.prometheus.PrometheusMetricsProvider
#metricsProvider.httpHost=0.0.0.0
#metricsProvider.httpPort=7000
#metricsProvider.exportJvmInfo=true
tickTime:CS通信心跳时间,客户端与服务器或者服务器与服务器之间维持心跳。单位是毫秒,系统默认是2000毫秒,也就是间隔两秒心跳一次。
initLimit:集群中的follower服务器(F)与leader服务器(L)之间初始连接时能容忍的最多心跳数。
syncLimit: Leader 与 Follower 之间发送消息,请求和应答时间长度,最长不能超过多少个 tickTime 的时间长度,总的时间长度就是 2*2000=4 秒。
server.A=B:C:D :A 是一个数字,表示这个是第几号服务器; B 是这个服务器的 ip 地址;C 表示的是这个服务器与集群中的 Leader 服务器交换信息的端口;D 表示的是万一集群中的 Leader 服务器挂了,需要一个端口来重新进行选举,选出一个新的 Leader。
下面对 tickTime、dataDir、dataLogDir、clientPort、initLimit=5、syncLimit 等进行基本配置。
注意:在每台主机上都执行以下命令 (注意本机使用 0.0.0.0)!
$ cd zookeeper-3.8.3/conf && cp -p zoo_sample.cfg zoo.cfg
$ mkdir -p /home/zookeeper/data
$ mkdir -p /home/zookeeper/logs
$ cat > zoo.cfg<<'EOF'
# The number of milliseconds of each tick
tickTime=2000
# The number of ticks that the initial
# synchronization phase can take
initLimit=10
# The number of ticks that can pass between
# sending a request and getting an acknowledgement
syncLimit=5
# the directory where the snapshot is stored.
# do not use /tmp for storage, /tmp here is just
# example sakes.
dataDir=/home/zookeeper/data
# 日志目录,如果不配置会共用dataDir目录
dataLogDir=/home/zookeeper/logs
# the port at which the clients will connect
clientPort=2181
# the maximum number of client connections.
# increase this if you need to handle more clients
maxClientCnxns=1024
#
# Be sure to read the maintenance section of the
# administrator guide before turning on autopurge.
#
# https://zookeeper.apache.org/doc/current/zookeeperAdmin.html#sc_maintenance
#
# The number of snapshots to retain in dataDir
autopurge.snapRetainCount=3
# Purge task interval in hours
# Set to "0" to disable auto purge feature
autopurge.purgeInterval=1

## Metrics Providers
#
# https://prometheus.io Metrics Exporter
metricsProvider.className=org.apache.zookeeper.metrics.prometheus.PrometheusMetricsProvider
metricsProvider.httpHost=0.0.0.0
metricsProvider.httpPort=7000
metricsProvider.exportJvmInfo=true

#standaloneEnabled=true
# admin服务配置
#admin.enableServer=true
#admin.serverPort=8088

server.1=192.168.3.73:2888:3888
server.2=192.168.3.74:2888:3888
server.3=192.168.3.75:2888:3888
EOF
在 server.1 上执行:
$ echo 1 > /home/zookeeper/data/myid在 server.2 上执行:
$ echo 2 > /home/zookeeper/data/myid在 server.3 上执行:
$ echo 3 > /home/zookeeper/data/myid配置完成后,切记一定要放开云服务器安全策略的 2181,2888,3888 几个端口,主机还需要关闭防火墙(一开始没关闭没成功);我们在每个主机上执行以下命令,实时看到启动的情况:

/usr/local/zookeeper-3.8.3/bin/zkServer.sh start-foreground可用命令:
zkServer.sh start 启动zk服务
zkServer.sh stop 停止zk服务
zkServer.sh restart 重启zk服务
zkServer.sh status 查看zk服务状态
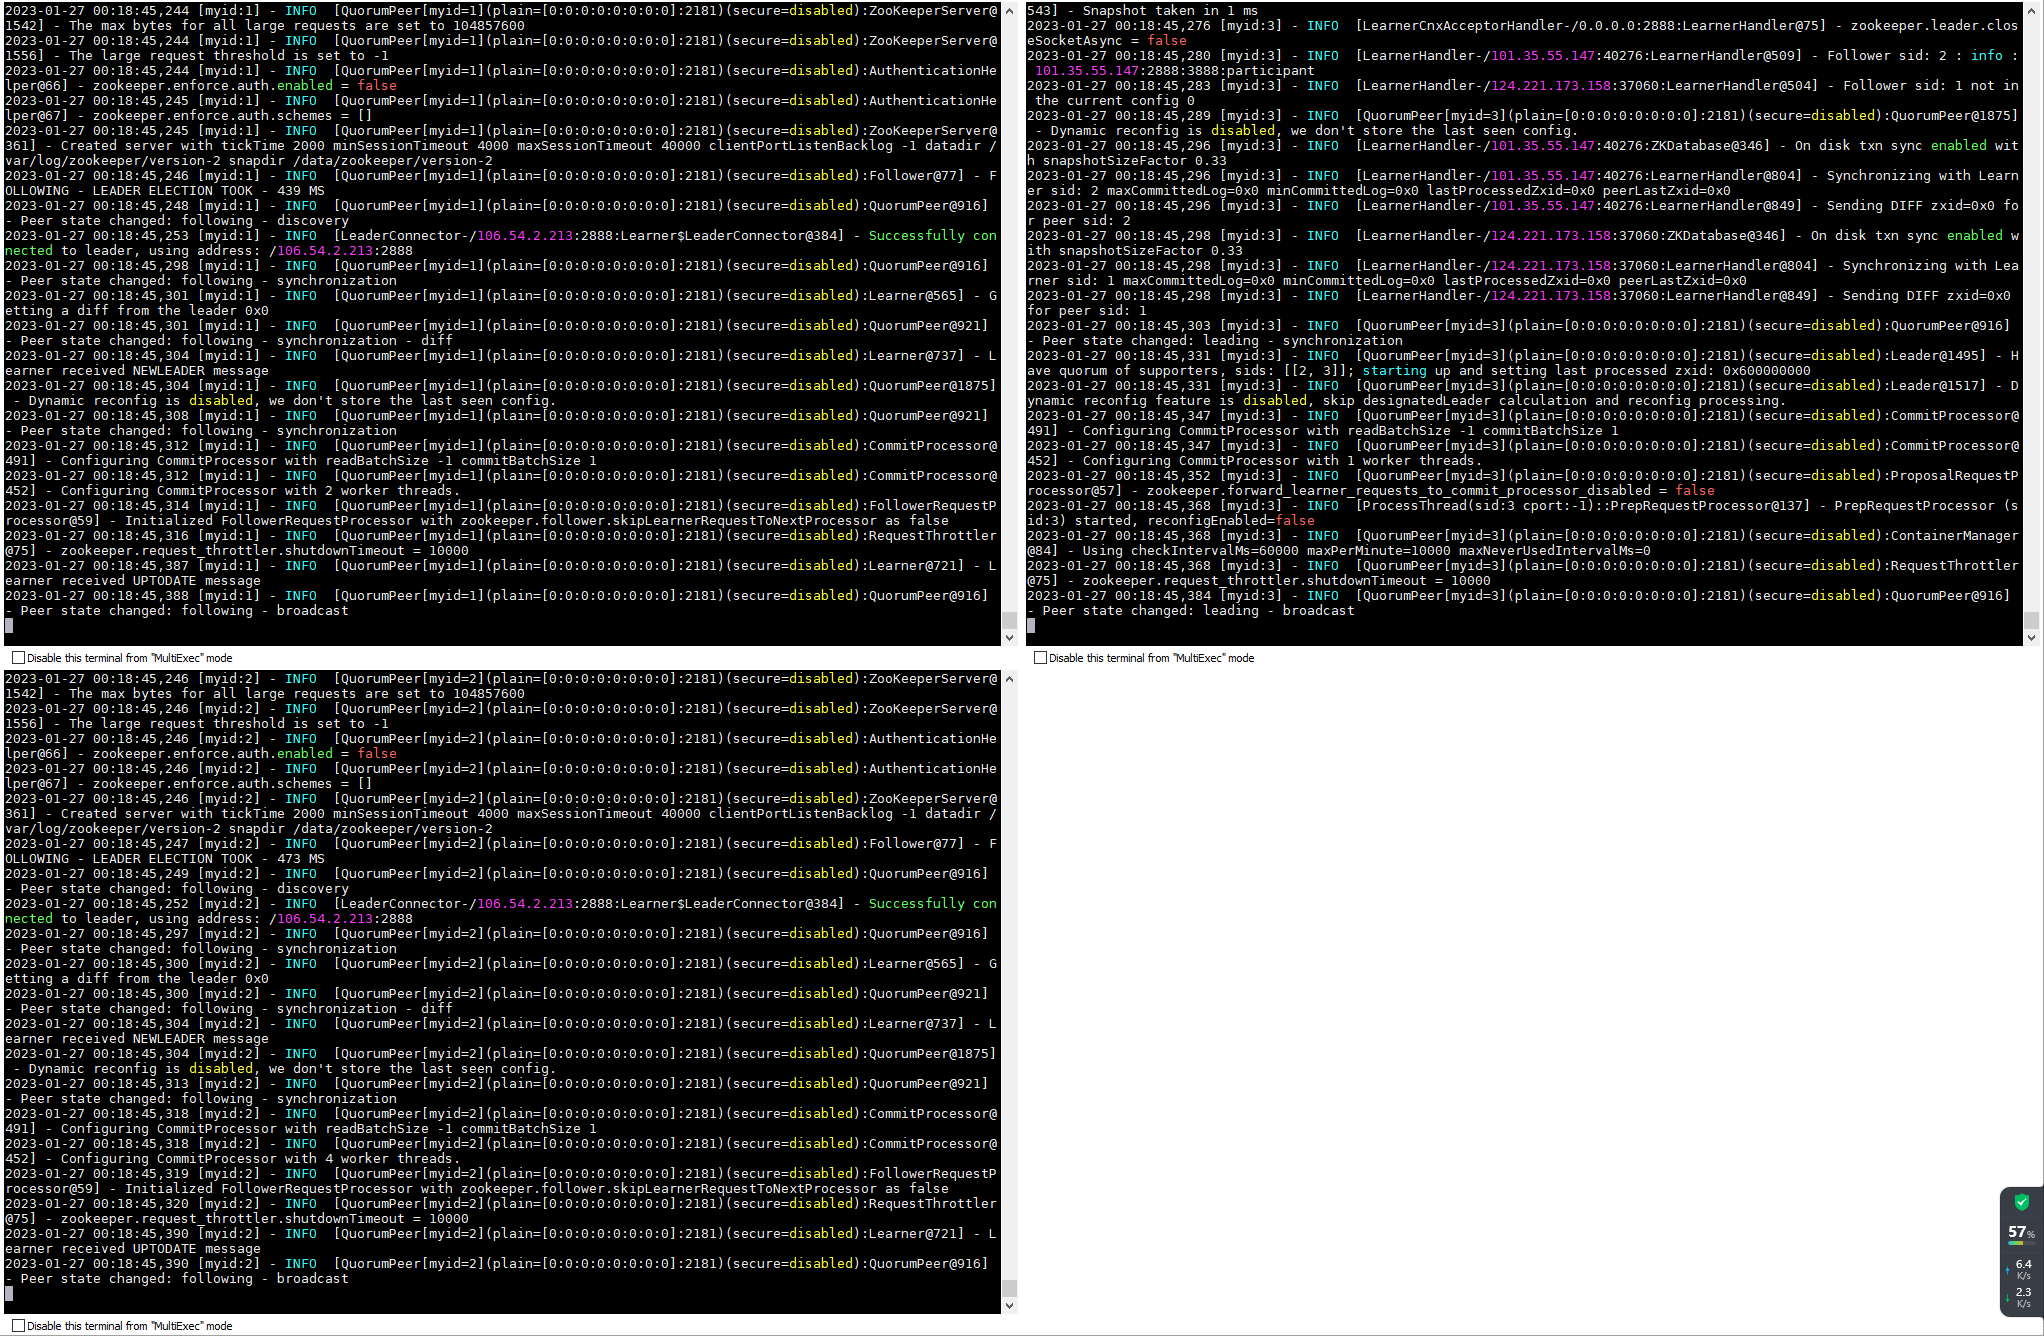
关闭防火墙后成功了:

启动后浏览器也可以访问查看状态:http://ip:8080/commands
3、开机启动
[root@nacos nacos]# vi /lib/systemd/system/zookeeper.service脚本内容:
[Unit]
Description=Zookeeper 3.x
After=network.target

[Service]
User=zookeeper
Type=forking
Environment='ZOO_LOG_DIR=/home/zookeeper/logs'
Environment='JAVA_HOME=/usr/local/java'
ExecStart=/usr/local/zookeeper-3.8.3/bin/zkServer.sh start
ExecStop=/usr/local/zookeeper-3.8.3/bin/zkServer.sh stop
ExecReload=/usr/local/zookeeper-3.8.3/bin/zkServer.sh restart
Restart=on-failure
StartLimitInterval=60
StartLimitBurst=3000

[Install]
WantedBy=multi-user.target
创建 zookeeper:zookeeper 用户组和用户,并进行授权:
$ groupadd zookeeper
$ useradd -g zookeeper -M -s /sbin/nologin zookeeper
$ chown -R zookeeper. /home/zookeeper/data
$ chown -R zookeeper. /home/zookeeper/logs
设置随机启动:
[root@nacos nacos]# systemctl daemon-reload
[root@nacos nacos]# systemctl enable zookeeper.service
[root@nacos nacos]# systemctl start zookeeper.service
[root@nacos nacos]# systemctl status zookeeper.service
[root@nacos nacos]# systemctl stop zookeeper.service
查询主节点状态:
$ /usr/local/zookeeper-3.8.3/bin/zkServer.sh status最后编辑:Jeebiz 更新时间:2025-12-02 17:24
