Kibana 安装说明(RPM-based Linux)
- Install Kibana with RPM: https://www.elastic.co/guide/en/kibana/8.14/rpm.html
- Install Kibana from archive on Linux or macOS: https://www.elastic.co/guide/en/kibana/8.14/targz.html
- Install Kibana with Docker: https://www.elastic.co/guide/en/kibana/8.14/docker.html
导入 Elastic PGP 密钥
下载并安装公共签名密钥:
rpm --import https://artifacts.elastic.co/GPG-KEY-elasticsearch从 RPM 存储库安装
在基于 RedHat 的发行版的目录kibana.repo中,或在基于 OpenSuSE 的发行版的目录中创建一个名为的文件,其中包含:/etc/yum.repos.d/ /etc/zypp/repos.d/
[kibana-8.x]
name=Kibana repository for 8.x packages
baseurl=https://artifacts.elastic.co/packages/8.x/yum
gpgcheck=1
gpgkey=https://artifacts.elastic.co/GPG-KEY-elasticsearch
enabled=1
autorefresh=1
type=rpm-md
存储库已准备好使用。您现在可以使用以下命令之一安装 Kibana:
sudo yum install kibana
sudo dnf install kibana
sudo zypper install kibana
手动下载并安装 RPM
1、下载安装 Kibana
您可以从我们的网站或我们的RPM 存储库下载Kibana 的 RPM 。它可用于在任何基于 RPM 的系统(例如 OpenSuSE、SLES、Red Hat 和 Oracle Enterprise)上安装 Kibana。
官方地址:https://www.elastic.co/cn/downloads/kibana
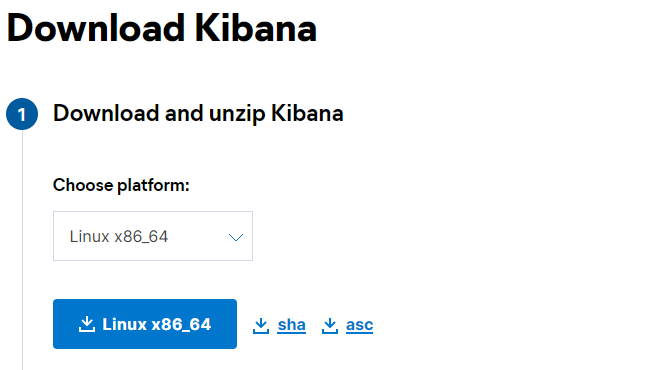
下载安装最新的 Kibana 版本(选择适合的安装包,如:Linux x86_64).
注意:可先网页下载到本地,上传到 /usr/local/src 目录下,也可以使用 wget 下载;
wget https://artifacts.elastic.co/downloads/kibana/kibana-8.14.1-x86_64.rpm
wget https://artifacts.elastic.co/downloads/kibana/kibana-8.14.1-x86_64.rpm.sha512
shasum -a 512 -c kibana-8.14.1-x86_64.rpm.sha512
sudo rpm --install kibana-8.14.1-x86_64.rpm


$ cd /usr/local/src && wget https://artifacts.elastic.co/downloads/kibana/kibana-8.6.1-linux-x86_64.tar.gz --no-check-certificate
$ tar -xzf kibana-8.6.1-linux-x86_64.tar.gz -C /usr/local
$ cd .. && mv kibana-8.6.1 kibana
$ echo 'export KIBANA_HOME=/usr/local/kibana' >>/etc/profile
$ echo 'export PATH="$PATH:$KIBANA_HOME/bin"' >>/etc/profile
$ source /etc/profile
2、创建数据存储目录
为 kibana 创建专用的数据存储目录
$ mkdir -p /home/kibana/data
$ mkdir -p /home/kibana/logs
2、配置 kibana.yaml
# =================== System: Kibana Server ===================
# Kibana is served by a back end server. This setting specifies the port to use.
server.port: 5601
# Specifies the address to which the Kibana server will bind. IP addresses and host names are both valid values.
# The default is 'localhost', which usually means remote machines will not be able to connect.
# To allow connections from remote users, set this parameter to a non-loopback address.
server.host: "0.0.0.0"
# The Kibana server's name. This is used for display purposes.
server.name: "kibana-test"
# =================== System: Other ===================
# The path where Kibana stores persistent data not saved in Elasticsearch. Defaults to data
path.data: /home/kibana/data

# Specifies the path where Kibana creates the process ID file.
pid.file: /usr/local/kibana/kibana.pid

# Set the interval in milliseconds to sample system and process performance
# metrics. Minimum is 100ms. Defaults to 5000ms.
#ops.interval: 5000

# Specifies locale to be used for all localizable strings, dates and number formats.
# Supported languages are the following: English (default) "en", Chinese "zh-CN", Japanese "ja-JP", French "fr-FR".
i18n.locale: "zh-CN"
3、启动 Kibana 环境
运行 bin/kibana (Windows环境下使用: bin\kibana.bat)
# Start the Kibana service
$ bin/kibana --allow-root
小内存问题
如果是小内存,可能在启动kibana时挤掉elasticsearch或者其他服务
解决办法:
修改elastic jvm配置文件
vim /usr/local/elasticsearch-7.6.2/config/jvm.options
-Xms256m
-Xmx256m
修改kibana运行文件
vi /usr/local/kibana/bin/kibana
添加一条
NODE_OPTIONS="${NODE_OPTIONS:=–max-old-space-size=256}"
4、开机自启动
配置开机启动脚本:
[root@rocketmq ~]# vi /lib/systemd/system/kibana.service脚本内容:
[Unit]
Description=Kibana Server
After=network.target

[Service]
ExecStart=/usr/local/kibana/bin/kibana --allow-root --plugin-path /usr/local/kibana/plugins 2>&1 &
ExecReload=/bin/kill -s HUP $MAINPID
ExecStop=/bin/kill -s QUIT $MAINPID
LimitNOFILE=65536
Restart=on-failure
StartLimitInterval=60
StartLimitBurst=3000

[Install]
WantedBy=multi-user.target
设置随机启动:
[root@rocketmq ~]# systemctl daemon-reload
[root@rocketmq ~]# systemctl disable kibana.service
[root@rocketmq ~]# systemctl enable kibana.service
[root@rocketmq ~]# systemctl start kibana.service
[root@rocketmq ~]# systemctl status kibana.service
[root@rocketmq ~]# systemctl stop kibana.service
[root@rocketmq ~]# systemctl restart kibana.service
5、访问 Kibana
点击终端界面提示的链接,或者在浏览器上直接访问 http://localhost:5601 ,然后按照注册说明连接到 Elasticsearch。
注意:移动要开放端口 5601(云服务器需要另外配置安全策略)
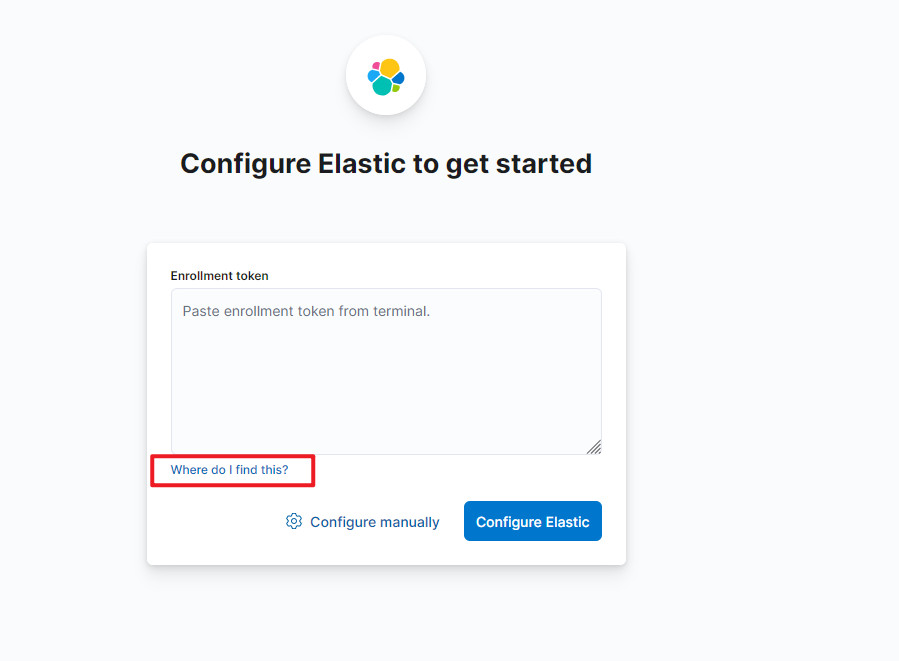
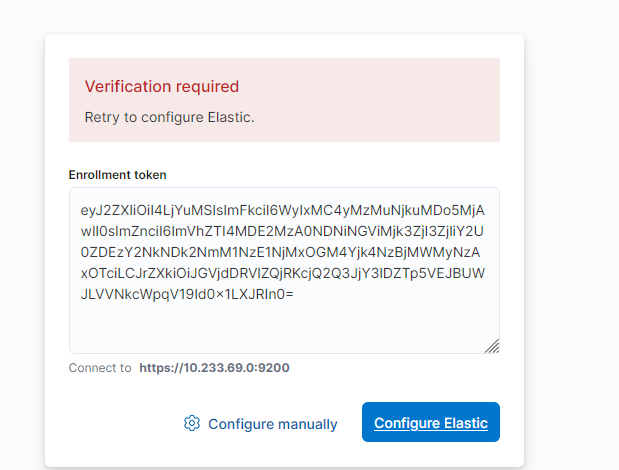

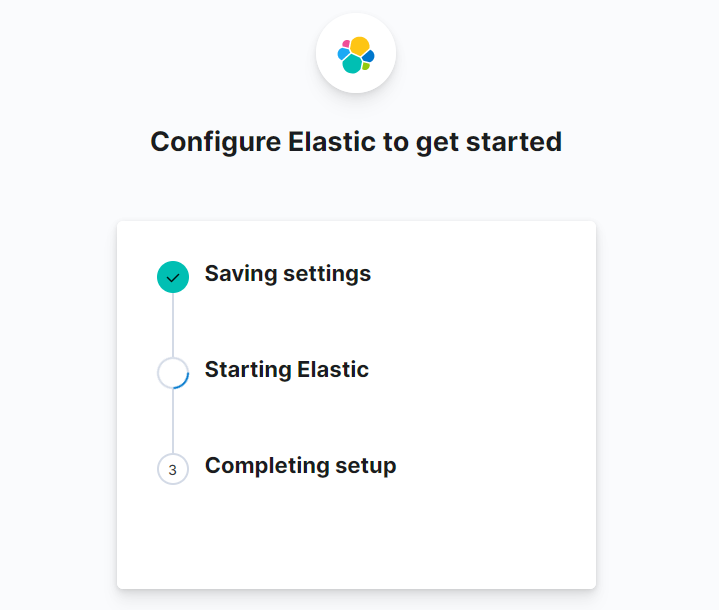
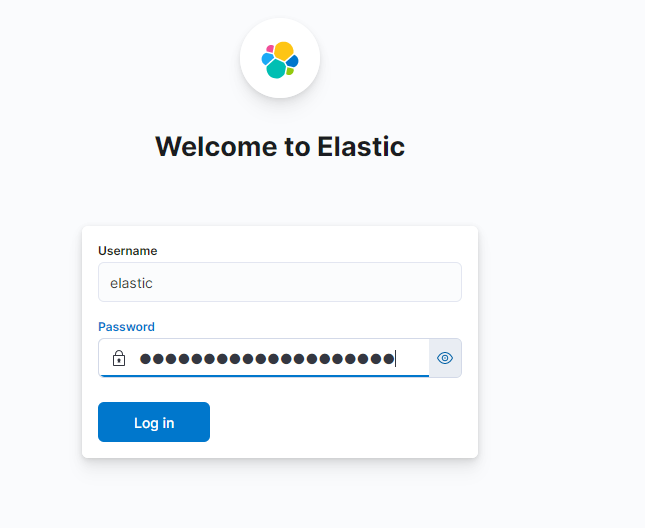
首次启动 Elasticsearch 时会自动生成注册令牌。您可能需要在终端中向后滚动一点才能查看它。
要生成新的注册令牌,请从 Elasticsearch 安装目录运行以下命令:
bin\elasticsearch-create-enrollment-token --scope kibana最后编辑:Jeebiz 更新时间:2024-06-22 23:54
